Between work, moving and a leaking roof I've been decidely unmotivated to paint anything lately. I started to paint Azhag's wyvern Skullmuncha, then realised that he was so nobbly that I really needed my air brush.Which I didn't have. I also need a new air compressor since I had been using a big 120 PSI 2 HP 24L jobbie and with a new small person in the house that level of noise just wouldn't cut it. I've got the airbrush, but I'm still need the compressor. I've also played about with some test colour for some Kasrkin, but my mojo wasn't working.
 |
| Not so good for painting |
So I decided some quick hobby projects were on order. The first was really simple: the wallpaper in our sunroom/studio is mightly awfull, so I decided it needed covering. Since we're renting it has to be completely removable. Inspired by Asian bamboo scaffolding, I came up with a super cheap screen.
 |
| Paper screen, with some new lamps |
It's 10 baboo stakes lashed together with florists/gardeners wire and butchers paper of the top. the bamboo means it's super wonky and the paper is only held on with tape, but if it lasts out the year I'll be happy. It also reduces the fear of air bushing in here since I don't really care if it gets painted.
 |
| Bamboo latice |
That was a quick and dirty job, but the titular paint rack required a bit more work. I first worked up a design in CAD. I needed it to fit GW and Valejo paints, plus MIG powders and an assortment of inks and oils.
 |
| 6mm MDF, the gentlemans MDF, with initial markings |
In the end I did two designs, one with a wide bottom shelf, and a second with a drawer for oil tubes. The design was in 3mm MDF and the aim was to be simple enough to cut with light power saws with simple straight lines (no CNC here!), to be easy to assemble, sturdy and fit on my bookcase. And not be too ugly.
 |
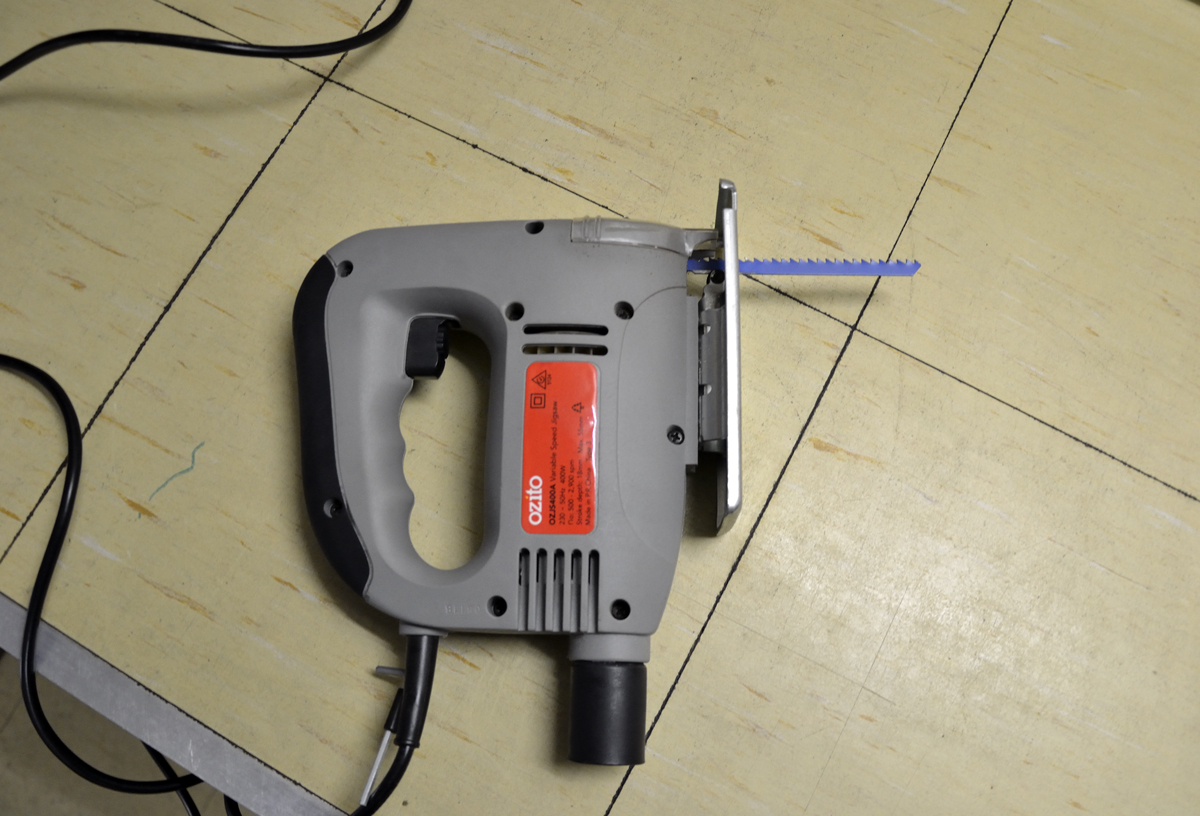
| A not so gentlemanly saw, not the best for straight lines |
I first chopped out the sides. I used the corners since then the base would be square. The two corners were taped together back-to-back to allow me to mirror the cut-outs. The first cutting was done using cheap borrowed jig saw. I then hit it with a scroll saw to do the detail. Unfortunately the scroll was also cheap and had a 2mm wander in the blade so the lines weren't quite straight. At this point I thought, stuff it, it's not like I'm a carpenter and I can always make more later.
Then I started on the shelves. And broke the scroll saw blade. It was the last one. Given it was late in the day my options were give up for now, or to say stuff it once more and just use the jig saw. I said stuff it. Using all my powers of bodgery I cut out 13 nearly squared shelf pieces.
 |
| Completed, rough but sturdy |
Fortunately the design was simple enought at after some judicious chopping and a fair shake of jamming things together and bunch of PVA it came together. And everything fit.
 |
| Fits MIG powder pots and larger ink pots |
And it fit in my bookcase.
 |
| Fits nicely in the shelf, with room for another |
All in all I'm fairly pleased with how this turned out. Given my lack of practice and lack of tools the shelf sits flat and is stable and feels sturdy. there is, of course, the question as to wether I pony up and buy some decent tools (a band saw would be good :-), or just keep it ghetto. Not sure yet - might see how I feel next weekend.
I've also put the plans I used here under a copy left licence so they are free to use for non commercial use. Although I didn't use their work, I was inspired by them, so I feel I should give a shout to
http://www.miniaturescenery.com/ who sell paint racks. They are much more polished that mine, but won't fit large bottles or jars. Also a shout out to
Roman at Massive Voodoo for getting wrong before me and making sure I put a lip on the front of my shelves.
 |
| Deconstruction with missing left side - note the back brace |
 |
| Parts plan with parts counts |


No comments:
Post a Comment